Chocolate Cupcakes with Vanilla Bean Buttercream Icing (and sprinkles, of course)
A friend and former coworker had her baby shower this weekend, and she asked if I'd make her cupcakes. Of course! I said. Her only request (she said it was really the baby requesting it, so cute) was some sort of vanilla frosting. The rest she left up to me.
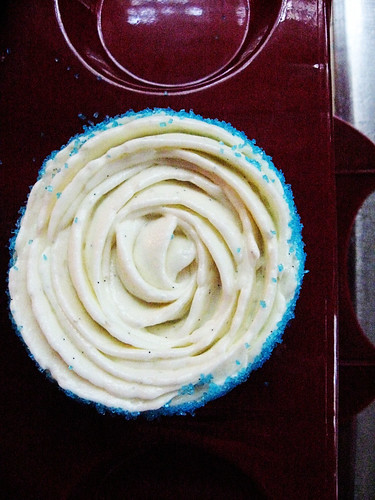
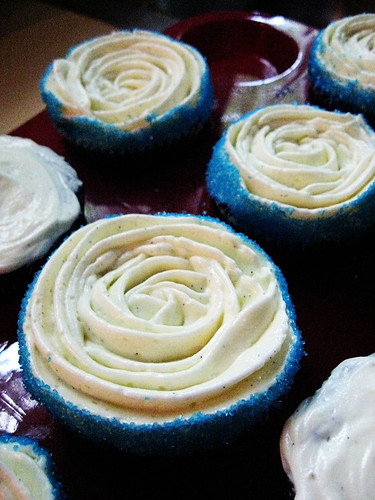
So, chocolate cupcakes with vanilla buttercream frosting it was. But what I really wanted to share with you was the decorations. This is something I struggle with, now that I'm taking baking more seriously and am starting to do it on a commission-type basis. Making a great tasting cupcake and frosting is easy. Making a great tasting and attractive (read: professional-looking) cupcake is a bit more difficult.
Think about it. The last time you had homemade cupcakes - what did they look like? I'll be honest, and say that most of my desserts aren't picture-worthy. It's just that my audience (read: my husband, or loyal friends) doesn't really care what they look like, and it's the taste that matters, right?
So, all of this to say that I needed a way to make these cupcakes look good. Icing was an obvious option, but what else?
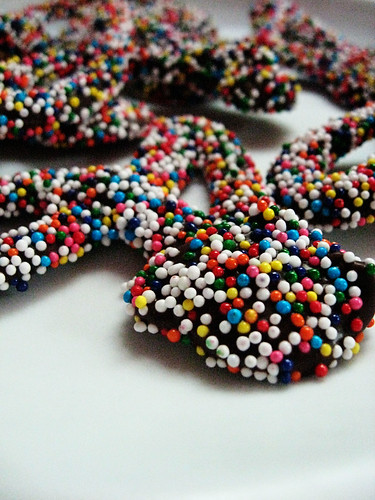
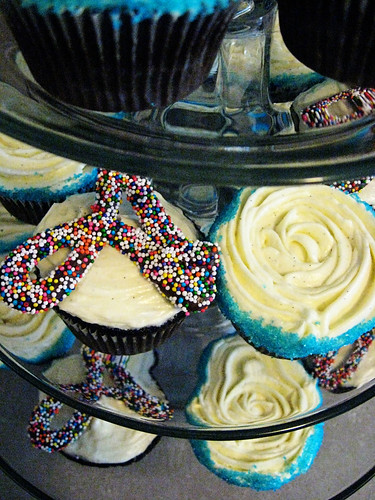
Enter chocolate and non-periels. I had an idea to do a big initial (A for the baby's last name), so I did my research and decided to use chocolate melting chips to draw out a scripted "A". You can usually find these at any craft of candy-making supply store (I found mine at Michael's).
So how did I do it? I found an A that I liked (font: Amazing Ruler), then printed out several versions of it until I had the correct size. I wanted to A to hang off the cupcake a tiny bit, but not look grossly out of proportion.
I then slipped my "A" template under a sheet of wax paper. To soften the chocolate, I put the chips in a ziploc bag, then microwaved it in 10 second intervals, massaging the bag after each one until the chips were completely melted. Then snip off a corner of the bag (a tiny corner, don't be like me and snip off too much - this equals lots of mess), and then trace over your initial onto the wax paper. Immediately sprinkle with non-periels, then transfer to the fridge for 5 minutes to allow to cool.
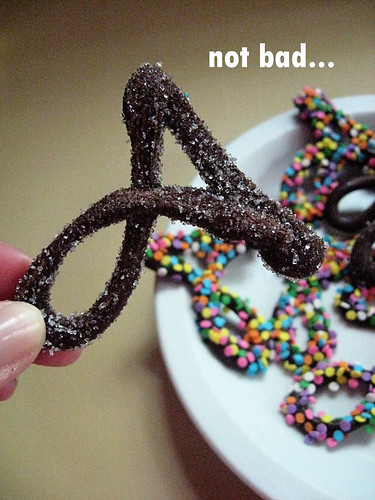
And now let's look at some of my rejects. While I knew all along that I wanted to use the small non-periels, I had some other types of sprinkles lying around, and wanted to try them out as well. First up, blue sanding sugar...
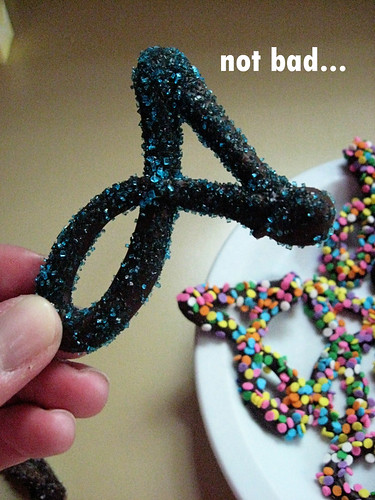
Eh, this was ok. Had I used white chocolate, I think the sugar would have popped more beautifully. The dark chocolate just hid the sprinkles too much.
Next up, silver sugar...
Again, not bad.
Here is a plain A with no decoration...
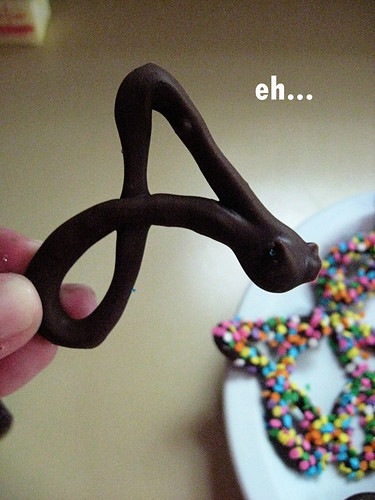
Boooooring.
How about large sprinkles?
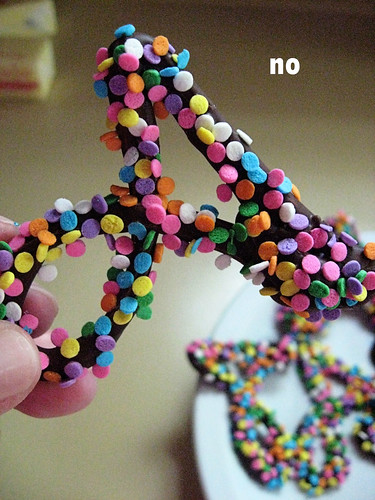
Ha ha. No.
The winner?
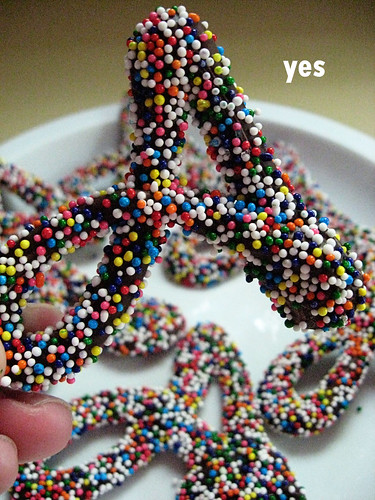
Note to self: next time take a picture without the plate behind it. You can barely see it. Don't look too hard, it will make you dizzy!
The finished product...


Comments
i am so hungry now.